Containerized Uyuni Proxy Setup
Once container host for Uyuni Proxy containers is prepared, setup of containers require few additional steps to finish configuration.
-
Generate Uyuni Proxy configuration archive file
-
Transfer configuration archive to the container host prepared in installation step and extract it
-
Start
systemdproxy services
1. Create and generate Uyuni Proxy configuration
Configuration of Uyuni Proxy is generated by Uyuni Server and this configuration generation is required to be done for each containerized proxy.
There are two ways how to generate Uyuni configuration: use the Web UI or the spacecmd command.
-
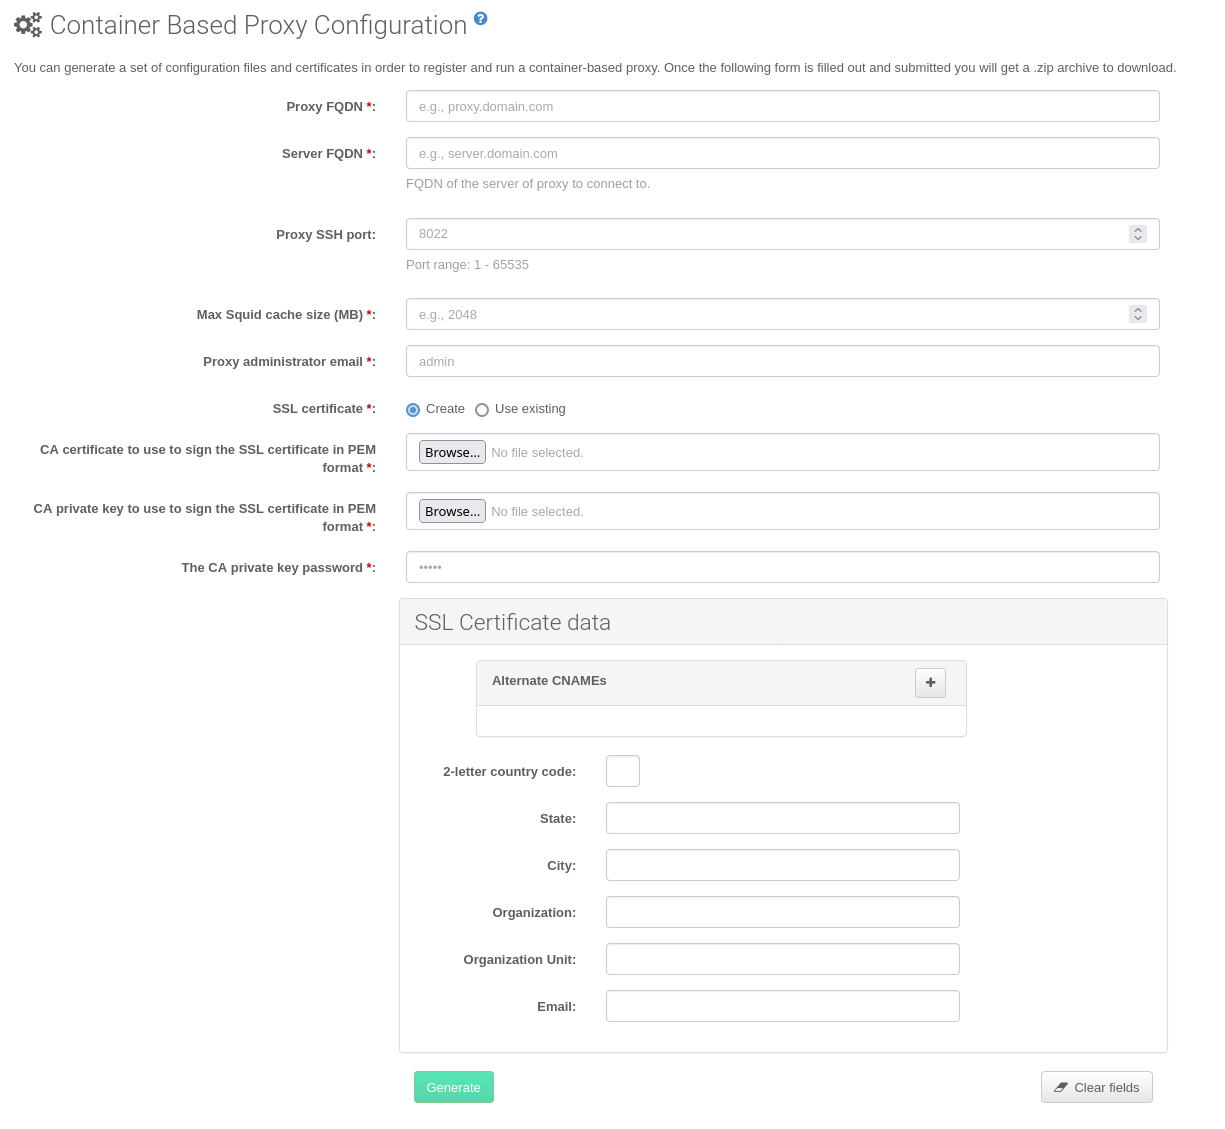
In the Web UI, navigate to and fill the required data:
-
In the
Proxy FQDNfield type fully qualified domain name for the proxy. -
In the
Parent FQDNfield type fully qualified domain name for the Uyuni Server or another Uyuni Proxy. -
In the
Proxy SSH portfield type SSH port on which SSH service is listening on Uyuni Proxy. Recommended is to keep default 8022. -
In the
Max Squid cache size [MB]field type maximal allowed size for Squid cache. Typically this should be at most 60% of available storage for the containers. -
In the
SSL certificateselection list choose if new server certificate should be generated for Uyuni Proxy or an existing one should be used. You can consider generated certificates as Uyuni builtin (self signed) certificates.Depending on the choice then provide either path to signing CA certificate to generate a new certificate or path to an existing certificate and its key to be used as proxy certificate.
The CA certificates generated on the server are stored in the
/root/ssl-builddirectory.For more information about existing or custom certificates and the concept of corporate and intermediate certificates, see Import SSL Certificates.
-
Click Generate to register new proxy FQDN in Uyuni Server and generate configuration archive with details for container host.
-
After a few moments you are presented with file to download. Save this file locally.
-
In the console run following command:
spacecmd proxy_container_config_generate_cert -- <proxy_fqdn> <parent_fqdn> <squid_max_cache> <admin_email>
-
Answer questions presented by script, namely Uyuni credentials and CA password.
This will generate file
config.tar.gzwith configuration for the Uyuni Proxy containers.For more information about
spacecmdcontainer proxy generation, see proxy_container_config.
If a Proxy FQDN is used to generate Uyuni Proxy container configuration that is not a registered minion, a new system entry will appear in system list.
This new entry will be shown under previously entered Proxy FQDN value and will be of Foreign system type.
2. Transfer Uyuni Proxy configuration
Both spacecmdcommand and web UI ways generate configuration archive. This archive needs to be made available on container host.
Transfer this generated archive to the container host and extract it to configuration directory (by default /etc/uyuni/proxy).
3. Start Uyuni Proxy containers
Container can now be started by single systemctl command:
systemctl start uyuni-proxy-pod
systemctl enable --now uyuni-proxy-pod
Check if all containers started up as expected by calling
podman ps
Five Uyuni Proxy containers should be present:
-
proxy-salt-broker
-
proxy-httpd
-
proxy-tftpd
-
proxy-squid
-
proxy-ssh
And should be part of proxy-pod container pod.